In my house Gladwrap is banned. We've found that going "cold turkey" and having no cling wrap is the only way not to use it! When it is not in the drawer, it forces us to improvise and use other solutions. Of course, beeswax wraps are a saviour in this process and we have multiple sizes, including a bunch of small ones that I have cut from larger wraps.
Plastic cling wrap can leach microplastics and chemical residues into food, especially with heat or acidity. Beeswax wraps, on the other hand, are a safer, sustainable option that work beautifully when cared for.
In Australia, where we’re lucky to have access to ethically sourced beeswax from local beekeepers, refreshing your wrap not only saves you money but also supports a circular, low-waste lifestyle. Instead of tossing out a tired wrap, you can easily give it a new life with just a bit of wax and heat.
When your beeswax or vegan wax wrap starts looking cracked, limp, or less sticky, refreshing it can restore its grip and longevity.
Here are the three top ways to do that—from the quickest oven refresh to an iron method for a smooth finish, and even a no-tools-needed sun trick!
Honestly, each is quick and easy. After you have finished using the oven for cooking dinner, use the residual heat to refresh a beeswax wrap. Simple!
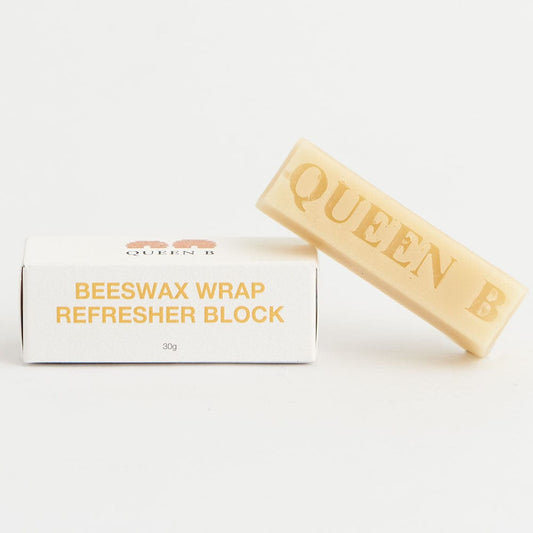
NOTE: For all these options when it says "grate wax", you can use a beeswax wrap refresher block that already combines a blend of beeswax, gum resin and oil, or just sprinkle on beeswax shavings or candelilla wax beads.
1️⃣ Oven method – fast & simple
Use when your wrap just needs a light refresh.
- Preheat your electric oven to 70–80 °C (or around 150 °F)
- Lay the wrap flat on baking or greaseproof paper.
- Option A: Grate beeswax or use a refresher block over the wrap.
- Option B: Simply heat the wrap (no added wax) to redistribute existing wax
- Bake for 2–4 minutes—watch it closely so wax melts without burning.
- Remove, peel off the paper, and gently wave to cool and firm.
2️⃣ Iron method – precise & smooth
Use when you want an even, controlled coating.
- Grate wax or place wax shavings on the wrap.
- Sandwich the wrap between two pieces of baking paper.
- Iron on medium (no steam), moving evenly until wax melts and spreads
- Let it cool with the paper, then peel and air-dry.
3️⃣ Sun/hairdryer method – no oven or iron needed
Use when you don’t have kitchen appliances or want a gentle refresh.
- Clean and dry the wrap thoroughly.
- Lay flat on parchment or freezer paper.
- Use a hairdryer to warm (not melt) the wax and soften the wrap .
- OR leave the wrap in direct sunlight on a warm day—wax softens naturally.
- Gently smooth by hand and let cool before folding.
Which method is best to use?
Need quick refresh? Opt for the oven—simple and speedy.
Want smooth, uniform look? The iron method gives the best finish.
No oven or iron on hand? Sun or hairdryer works in a pinch—just takes a bit longer.
No matter which path you take, refreshing your wraps extends their life by months, prevents waste, and keeps your kitchen free of plastic.
Related reading
How Long Do Beeswax Wraps Last?
Recipe for How to Make Beeswax Wraps
5 Clever Ways to Use Beeswax Wraps
What's the Difference Between Beeswax and Vegan Wraps and Which One Works Best?

